Helping You Create Clothes That Make You Feel Great By Providing Fashionable Sewing Patterns That Fit
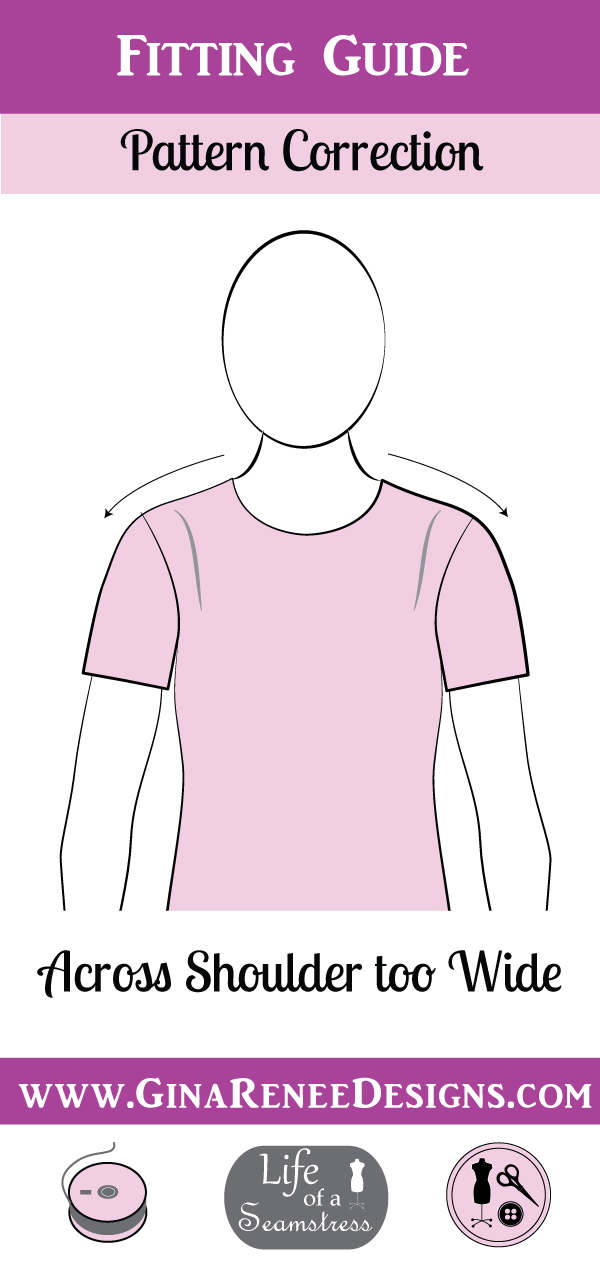
Top Pattern correction to reduce the shoulder width.
a) identify the issue – across shoulder is too large- Often there is too much fabric across the front.
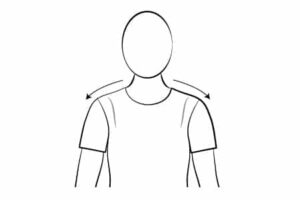
B) Pin the across shoulder area in at the Low point shoulder (LPS), until you are happy with the location of the armhole seam.
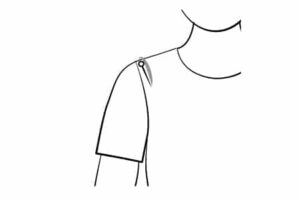
Option 1
C) Correcting the Problem – Cut the pattern with lines as shown.
Remember that for each layer of clothing, the across shoulder can have a little ease to account for the layers underneath.
1. Identify the issue: low point shoulder (LPS) is too low at the armhole area. You may have excess fabric in the “across front” area.
Step 1. Pin the amount you want to reduce the across shoulder area at the armhole.
Step 2. Measure the amount you’ve pinned and note it down.
Step 3. Mark your bodice pattern with a straight line from about 1/3 of the way up the shoulder seam to the curve of the armhole.
Step 4. Draw a second line from the LPS to the midway area of the first line.
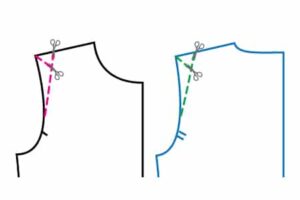
Step 5. Cut along those lines, to zero at the armhole join and zero at the LPS.
Step 6. Slash the mainline closed; the same amount you’ve pinned.
Step 7. The second line will join the shoulder seam and you will redraw the shoulder seam straight again.
Fold the pattern over as much as you’ve pinned on the garment. This is then reducing the shoulder width. Download the guide to follow this step.
This correction is the same for the back and the front pieces. For this correction, there does not need to be any sleeve correction since the armhole measurement remains the same.
Option 2. Is available in The Fitting Book. Purchase your book HERE.


